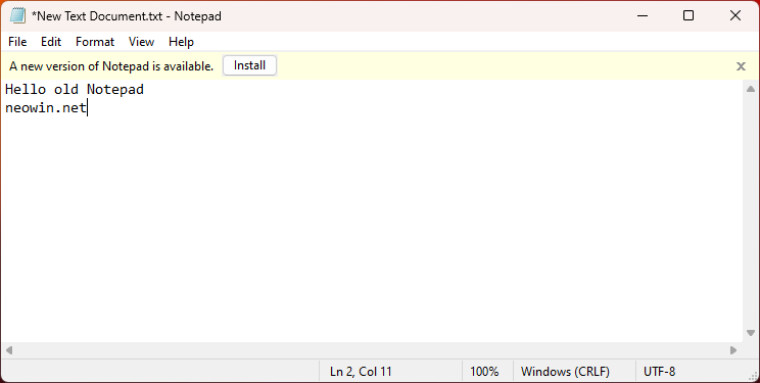
Notepad, now the default text editor in Windows 11, is getting many updates these days. Dark mode, tabs, a spellchecker, and a modern interface are pretty big updates for the app that has been sitting without much attention from Microsoft for many years. As it usually goes in the Windows world, not all users like those upgrades and some would like to keep the app without its new bells and whistles.
As it turned out, you can do that. Here is how to go back to the old Notepad in Windows 11.

Restore old Notepad in Windows 11
The easiest way to bring back the old Notepad is to delete the new one. Open Start > All Apps and locate Notepad. Right-click it and select Uninstall. Now, every text file will open in the old Notepad, which you can still find in the C:\Windows folder.
Note that uninstalling Notepad will remove its entry from the "Open with" menu. You can fix that and add the old Notepad by following the steps below. Those can also let you keep both variants and select whichever you want whenever you want. Here is what to do:
- Go to Settings > Apps > Advanced app settings > App execution aliases (credit for this goes to λlbacore on X).

- Scroll down and toggle off Notepad. This will let you open the old Notepad from the Windows folder or with the "notepad" command. You can similarly launch the old Task Manager in Windows 11.
- Download the OpenWithView tool from NirSoft. It is a simple single-file utility that lets you select what apps appear in the "Open with" menu. You will also need it to add Notepad to the "Open with" list after deleting the new Notepad.
- Launch the app and select notepad.exe.
- Click the green button on the toolbar.

- Close the app and right-click any text file. You will then see two Notepads: the modern one and the legacy variant.

Are you ok with the new Notepad, or do you prefer the old one? Share your thoughts in the comments.


23 Comments - Add comment