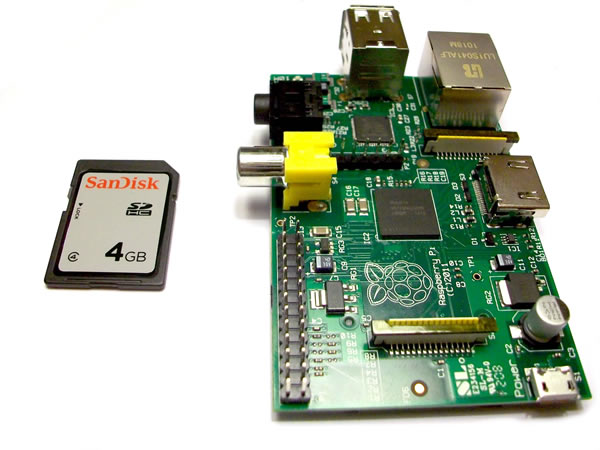
Six years ago, Raspberry Pi founder Eben Upton set out to reignite programming in schools with a cheap, compact computing platform. Despite targeting students, his foundation's $35 computer captured the imaginations of tinkers worldwide, resulting in overwhelming demand. Interest was so high, that distributors Premier Farnell and RS buckled under the strain of preorders in February. The former outfit later said demand was 20 times greater than its supply, with orders hitting 700 a second at one point.
When the first 10,000 devices shipped in mid-April, the organization graciously sent us a sample for coverage. Along with a hands-on review of the Pi, today we'll be covering basic steps for setting up the computer and other elemental post-installation tasks to get you up and running with applications. In other words, this should serve as a starting point no matter what you want to do with your Raspberry Pi.

We received a Model B ($35), which is powered by a Broadcom BCM2835 SoC that includes a 700MHz ARM1176JZF-S CPU core, 256MB of RAM and a Broadcom VideoCore IV GPU with OpenGL ES 2.0 that supports 1080p at 30FPS as well as H.264 and MPEG-4 high-profile decoding for smooth Blu-ray playback. Connectivity includes two USB ports, Ethernet, HDMI, RCA video, an SD card slot, a 3.5mm audio jack and two rows of 13 General Purpose Input/Output (GPIO) pins for further expansion.
Read: Raspberry Pi Review & Initial How-To Setup Guide
These articles are brought to you in partnership with TechSpot.


19 Comments - Add comment