Earlier this week, the Linux Mint project announced the latest release of Linux Mint, version 19.2. We thought it’d be good to explain the process of downloading and installing Linux Mint on your computer. There are some reasons you may want to do this; your computer could be getting old and runs Windows slowly, or you may not want to buy a Windows license, whatever your reasons are, this guide should help you get up and running.
Picking and downloading the correct disc image
The first thing you’ll want to do before getting started is thinking about which edition of Linux Mint 19.2 you’d like, there are three to pick from but one may be suitable than the others depending on your hardware and your preferences. The flagship edition is called Cinnamon, this features a modern, innovative, full-featured desktop. Cinnamon lets you pick between a modern look which is closer to Windows 7 and Windows 10, or a more traditional look which is more like Windows XP and Windows Vista. The main difference is in the taskbar and how it organises your open programs.
The second edition is called MATE, this is considered more stable because it is based on GNOME 2 which predates Cinnamon. Additionally, it may perform better on older hardware due to its less intensive hardware demands.
Finally, you have Xfce. This desktop environment is more lightweight and considered the most stable out of the selection. One drawback with this edition is that it may lack some of the frills that you get with the other two options. With that said, if you want the desktop environment to stay out of your way and want more of your resources dedicated to your programs then Xfce is a very good choice.
Once you’re settled on which edition you want, you’ll need to pick an architecture: 32-bit or 64-bit. Most people should opt for the 64-bit edition on computers manufactured after 2007, however, if it doesn’t boot or you know your computer doesn’t support 64-bit operating systems then download the 32-bit version.
Once you’ve made a decision head over to the Linux Mint download page and select the version you want. It’s recommended that you download your ISO image as a torrent because this will verify the integrity of the file on the fly giving you added security. Note that downloading Linux Mint as a torrent is perfectly legal anywhere in the world, although torrenting has a bit of stigma due to piracy, you’re only breaking the law when you download copyrighted material that was not intended to be shared via torrents so Linux Mint is fine to torrent. If you’d rather download it directly from a mirror there are also lots of sources to choose from but you'll have to verify the downloaded file manually.
Creating the installation media
Once your download is finished you’re now ready to write your ISO to a USB stick (choose one with 4GB+) or DVD. If you’re burning a DVD, just right-click the downloaded ISO file and select burn disc image, be sure to verify the disc after burning to check for any errors. If you want to write it to a USB stick, download Etcher. Once Etcher open press ‘Select image’ and choose your ISO file, then press ‘Select drive’ and choose your USB stick, then hit ’Flash!’ (this process will wipe the USB stick).
Once you’ve got your DVD or USB boot media ready we're set for the next step where we will boot into a live session to check graphics cards, network cards and other hardware to make sure it's compatible. During this step, your Windows installation will be safe and you can reboot back into it at any time.
Booting into the live session
To boot into Linux Mint, insert your USB or DVD boot media and restart the computer. For the next step, you’ll have to be quick! Check for any instructions on your screen before Windows boots that will either let you enter the BIOS or boot from a USB or DVD. This part varies by computer model, usually, it involves pressing Escape, F1, F2, F8, F10, F11, F12, or delete. If you know how to get into the BIOS already, go in and change the boot sequence so that the system tries to boot from the USB or DVD before booting from your hard drive.
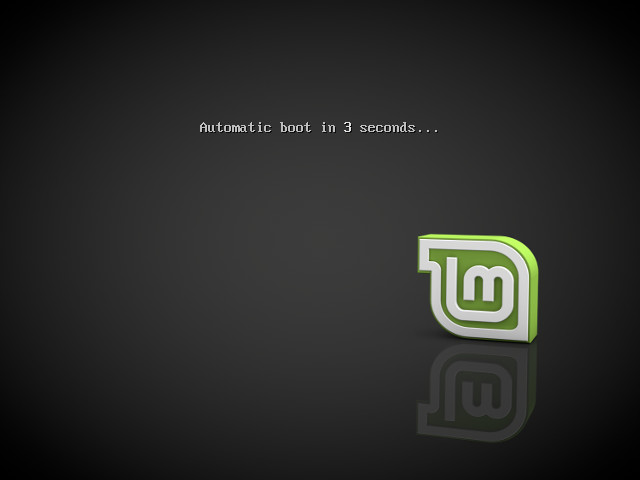
Precise instructions are hard to give at this stage so experiment a bit until you see the Linux Mint menu. On non-EFI systems, it will automatically boot into the live session after 10 seconds, and on EFI systems just press enter on Start Linux Mint 19.2 (followed by the edition and architecture). Once you’ve successfully done this you’ll be booting up into a live session. The live session is running directly from the USB or DVD so if you notice any lagging it’s just due to the limitations of those bits of hardware, performance will be faster when you install it to the hard drive.
Live session and installation
Now that you’re in the live session you can check to see if you can connect to the internet which will confirm that your network card is working, you can also run the Driver Manager program found inside the Mint menu at the bottom left of the screen to see whether there are any proprietary graphics drivers available for your hardware. Out of the box, your computer could be using some open-source drivers which are fine for general usage but you’ll want to switch to proprietary drivers if you intend to play games.
Once you’re happy that your hardware (including peripheral devices such as printers) are working and you’ve decided you want to install Linux Mint, head to the desktop and find the disc icon that says Install Linux Mint. You’ll now be guided through the Linux Mint installer which is pretty straight-forward to navigate.
Once the installer is open, select your language and continue to the next screen by pressing ‘continue’. Now connect to the internet if you’re asked, after this Linux Mint will ask you if you want to install third-party software for graphics and Wi-Fi hardware, Flash, MP3, and other media – it’s highly recommended that you tick this box and install the software, now continue to the next screen which will ask about the installation.
If Linux Mint is the only operating system you want to run on your computer you can select Erase disk and install Linux Mint. Doing so will delete hard drive’s partitions, wipe Windows, and all of your documents. If you intend to do this please make sure you have backed up your files, you can still press ‘Quit’ in the installer if you want to reboot into Windows to do the backup.
If you have an operating system already installed the installer will give you an option to install Linux Mint alongside it, the installer will allow you to resize your existing operating system, making room for Linux Mint beside it. A boot menu will be set up too so that you can choose between the two operating systems whenever you start your computer.
There’s also a third option which lets you manage the partitions manually. It’s highly recommended that you do not attempt to use this option especially if you’re new to Linux and not sure what you’re doing. If you want to go against good advice, your Linux Mint partition needs to be mounted on the root (/) directory, it needs a minimum of 20GB to install, but giving it 100GB or more is ideal. You should select the Ext4 journaling file system as this is stable and what the Linux Mint team tested the release on. You should also create a swap partition which will allow your computer to hibernate. This partition should be equal to the amount of RAM in your computer and be marked as a swap partition.
On the next two screens you will set up your time zone information and your preferred keyboard layout, then you’ll be asked to enter your user details. You can also encrypt the home folder for added security but performance may take a slight hit. Now you’ll be made to sit through a slide show which has useful information about Linux Mint. Once it’s done a box will appear asking if you want to continue testing or restart now, hit restart now to boot your new operating up (any changes you made in the live session are not saved). While the computer is shutting down, you’ll get a message telling you to remove your USB or DVD, do this and hit enter and restart.
Post-installation
With the install done, there are a few things worth running through. First, you should double-check for hardware drivers, launch the menu in the bottom left, head to Administration and then to Driver Manager. Any available drivers will appear here and you can download the ones you want. Once you’ve made your selections, and hit ‘Apply Changes’. Once the changes are applied you'll have to restart the computer to notice any changes.
The second thing to check is available updates. In the bottom right, where the clock is located, look for a shield with a blue icon, if for some reason you don't see if you'll find it in the Mint Menu by heading to Administration then opening Update Manager. A blue icon on the shield means there are updates available, press on that to view the available updates. It may ask you to set up backups and choose local mirrors to download updates from, both of these are optional but fairly easy to set up. After that you’ll be presented with a list of updates, apply these and restart your system if you applied any kernel updates.
That’s it, the operating system is installed and the updates are applied. You’re ready to go. From here I recommend checking out the Software Manager to find more programs to install. If you’re stuck with anything check out the Linux Mint forums or the Linux Mint subreddit which are both great places for resolving any issues you’re experiencing.


90 Comments - Add comment